
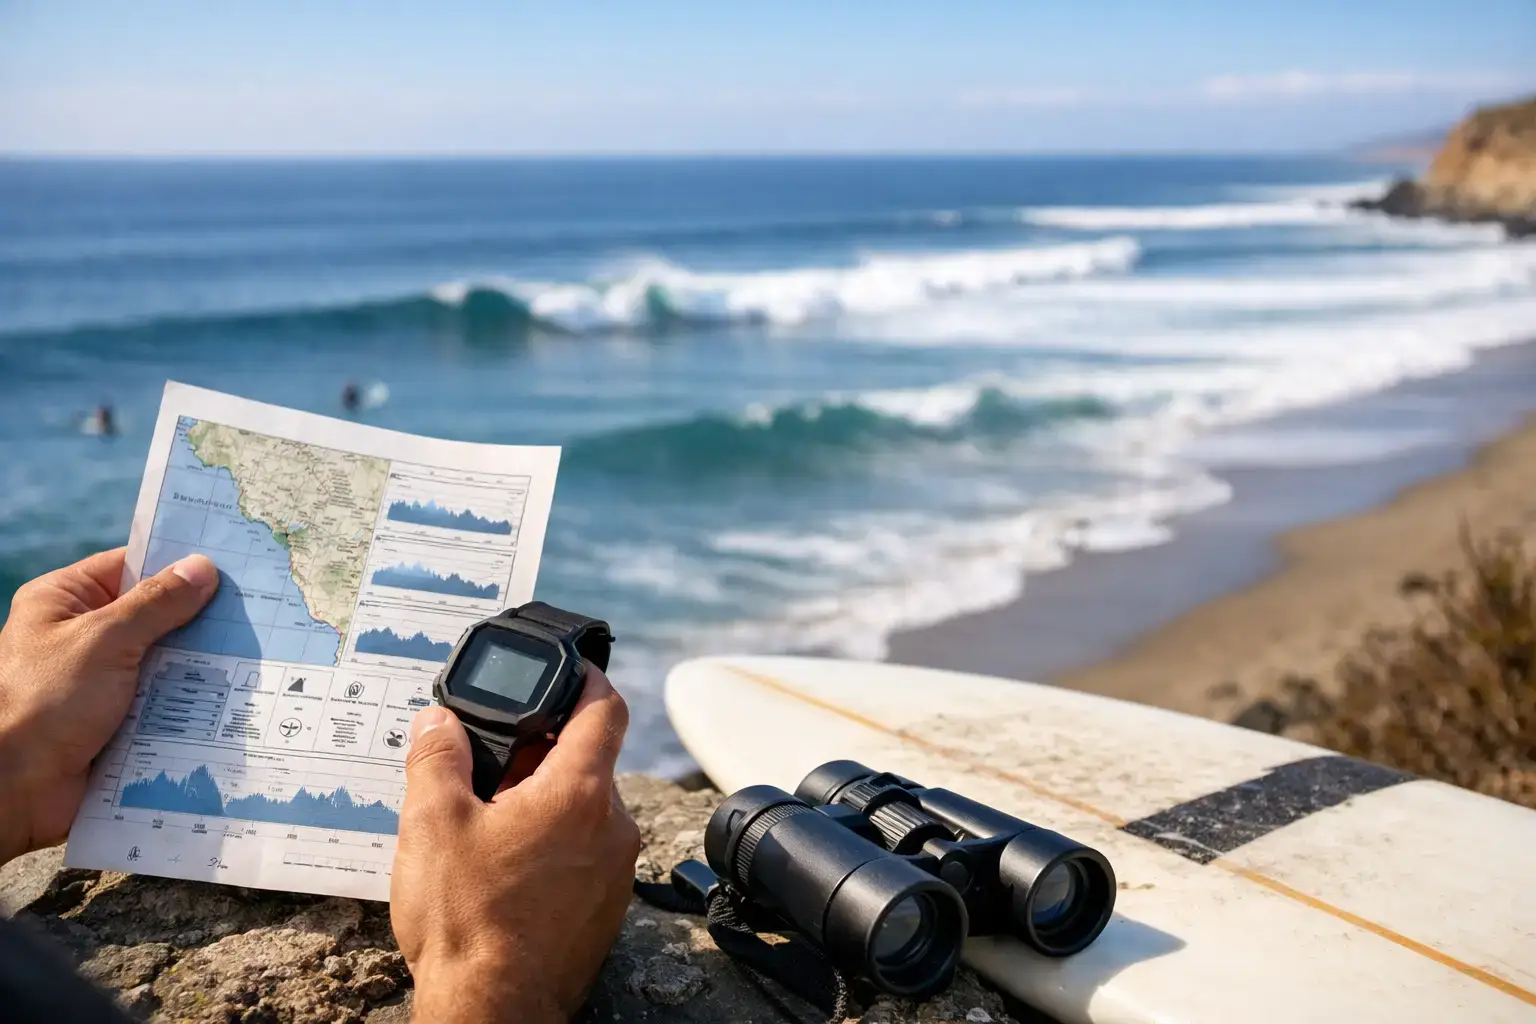
How to Read Surf Conditions Properly
You can save yourself a wasted paddle-out before you even wax up. A quick look from the car park, a glance at the horizon, a feel for the wind on your face – that tells a bigger story than most beginners realise. If you want to know how to read surf conditions, you are really learning how the ocean puts a wave together, and whether that wave suits your board, your skill level, and your local break.
The good news is you do not need to become a full-time forecaster. You just need to know what matters most, what changes from spot to spot, and why the same beach can be firing one morning and junk by lunch.
How to read surf conditions without overthinking it
Start with four things: swell, wind, tide, and banks. Those are the main levers. Forecasts help, but your own eyes matter just as much because conditions on the day often look different to what an app promised.
Swell tells you how much energy is in the water and from what direction it is arriving. Wind decides whether the wave face stays clean or gets chopped up. Tide changes how the wave breaks over the bottom. Banks or reef shape decide where the wave stands up, runs, and closes out.
If one of those is off, the session can still be fun. If two or three are off, it usually feels like hard work. That is why reading surf is never about a single number.
Start with the swell
A forecast might show one metre at 10 seconds from the south-east, but those numbers only become useful when you know what they mean for your local stretch of coast. Wave height in a forecast is usually swell height, not always the size you will actually surf. A beach facing directly into that swell may pick up more energy. A protected corner may be much smaller.
Period matters more than many surfers first think. Longer-period swell carries more punch and tends to produce stronger, better-shaped waves, especially when it hits reefs and defined sandbanks. A short-period windswell can still be fun, but it is often less organised and more lump than line.
Direction matters because not every break is open to every swell. A south swell may light up one beach and miss the next headland over. An east swell might wrap into points that stay sleepy on a straight south pulse. This is where local knowledge starts to separate random checks from smart ones.
When you are standing on the dunes, watch the sets before you judge the surf. Do not look for ten seconds and call it flat. Give it a few minutes. Some swells have long lulls, and the biggest waves often arrive in clusters.
Wind can make or break the session
If swell is the engine, wind is the surface finish. Light offshore wind usually holds the wave face up and helps it stay clean. Onshore wind blows into the face and makes it bumpy, crumbly, and harder to read.
But it depends on the spot. A dead-on offshore at one beach can be too strong and make waves hollow and tricky. A slight cross-shore at another can still be perfectly surfable. Protected corners also handle wind better than open beaches, which is why experienced surfers often move spots instead of forcing a bad option.
A simple rule helps here. If the ocean looks smooth, lined up, and glassy, you are in good shape. If it looks ruffled, uneven, and all one colour with no clean faces standing out, wind is probably causing trouble.
Also look at what the wind has been doing, not just what it is doing now. A clean early offshore can groom the sea surface, while a whole afternoon of onshore can leave leftover lump even after the breeze drops.
Tide changes the whole bank
Tide is where a lot of newer surfers get caught. They find a fun bank once, come back six hours later, and wonder where the wave went. Same beach, different tide, completely different session.
On some beach breaks, lower tide helps waves peak and stand up over the bank. On others, too low means close-outs and dumpy take-offs. A higher tide might soften things off and make them friendlier for learners, or it might swamp the bank so badly that nothing breaks with shape.
Points and reefs can be even more tide-sensitive. Some only work with enough water over the bottom. Others lose all their push once the tide fills in.
The smartest move is to stop asking whether a tide is good in general and start asking whether it is good for that spot. Build your own mental notes. Mid tide with light west wind. High tide on a small east swell. Low tide only if the period is short. That is the stuff that actually helps.
The bank matters more than the app
Beach breaks live and die by sand movement. Banks shift after storms, long swell events, and strong currents. That is why the same forecast can produce magic one week and close-outs the next.
When you check the beach, look for shape in the sandbar. You want to see where waves are bending, where peaks are forming, and whether there is a channel for paddling back out. If every wave breaks all at once from left to right with no shoulder, the bank is probably too straight or too shallow across the whole section.
A good bank usually has variation. A rip bowl can create a take-off zone beside a deeper channel. A little corner in the sand can turn a close-out beach into a workable peak. These details are easy to miss if you only stare at the biggest set wave.
Watch where surfers are sitting too. If the experienced locals are grouped in one tight pocket and nowhere else, there is probably a reason.
How to spot a good wave before you paddle out
This is the practical part of how to read surf conditions that saves energy and skin. From the shore, ask yourself a few simple questions. Are the waves breaking in the same place or all over the shop? Do they have a clean face you can trim along, or are they shutting down straight away? Is there a clear paddle-out channel? Are surfers making sections, or just getting pitched and swimming?
Good surf does not always mean perfect surf. Sometimes it means a mellow waist-high bank with a clean wall and no crowd. Sometimes it means punchy overhead waves with a short take-off zone if you are up for it. The point is fit. The wave has to fit the surfer.
Beginners should look for softer shoulders, slower walls, and an easy entry. Intermediate surfers can start looking for steeper take-offs, more defined sections, and a bit more power. If the ocean looks fast, heavy, and full of consequences, there is no shame in finding a safer bank down the road.
Read the water, not just the waves
The ocean gives away a lot when you know where to look. Darker water often shows deeper channels. Lighter patches can mean shallow sandbanks. Rip currents may appear as darker gaps with fewer breaking waves, or as water moving out to sea with foam and bubbles streaming through it.
That matters for both performance and safety. A channel can give you an easier paddle-out. A rip can help you get beyond the break, but only if you know how to use it and where it leads. If you do not, it can drag you out of position fast.
Also watch how long surfers take to get back out after a ride. If everyone is getting swept down the beach, the sweep is strong. If they are constantly caught inside, the lull between sets may be shorter than it first looked.
Forecasts are useful, but local beats generic
Surf apps are handy, but they flatten the details. They can tell you swell direction, period, wind, and tide, yet they cannot fully explain what a south-east swell with a light nor-easter does to your local corner after three days of sand movement.
Use the forecast as a starting point, then match it against what you actually see. Over time, patterns become obvious. You will learn that one beach likes early light winds and a push in tide, while another only turns on with more period and less size.
This is where surfing gets better. Not because you bought a better board or chased a bigger swell, but because you stopped guessing.
Build your own read of the coast
The fastest way to improve is to check the ocean often, even when you are not surfing. Look before work. Look on blown-out afternoons. Look after storms. Make a few notes on your mobile about swell, wind, tide, and what the bank did. After a month or two, your reads get sharper.
You do not need fancy language for it. Clean. Too full. Rippy but fun. Closing out. Better on the left bank near the rocks. That kind of observation is gold because it belongs to your coastline, your level, and your routine.
That is the real rhythm of learning surf. You start by reading numbers, then you start reading the sea. Once that clicks, every beach check feels less like a gamble and more like a conversation with the ocean. Stay curious, trust what you see, and let the coast teach you over time.

4 Responses